How to Use Canva for Print on Demand Designs (2026)
You don’t need to be a professional graphic designer to create stunning print on demand designs. With Canva, one of the most beginner-friendly design tools available, you can create high-quality designs that actually sell—even if you’ve never touched design software before.
In this guide, we’ll walk you through exactly how to use Canva for print on demand, from setting up your first canvas to exporting print-ready files that your fulfillment partner will love.
Why Canva Is Perfect for Print on Demand Beginners
Canva has become the go-to design tool for POD sellers for several reasons:
- Free to start: The free tier includes thousands of templates, fonts, and elements
- No learning curve: Drag-and-drop interface makes design intuitive
- Print-ready exports: Export as PNG with transparent backgrounds
- Massive template library: Get inspiration from professionally designed layouts
While tools like Photoshop and Illustrator are powerful, they require months of learning. Canva lets you create sellable designs on day one.
Step 1: Set Up Your Canvas Correctly
The biggest mistake beginners make is using the wrong canvas size. Here’s what you need to know:
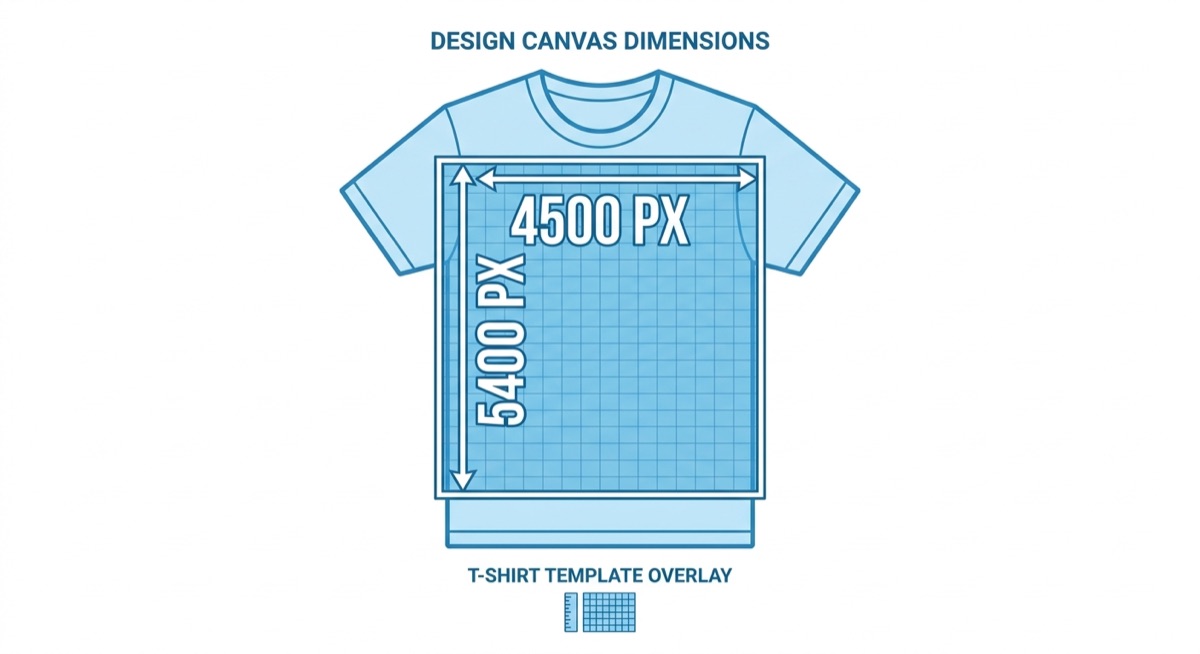
For t-shirts and apparel, start with a canvas of 4500 x 5400 pixels at 300 DPI. This gives your print provider enough resolution for crisp, professional prints.
To create a custom canvas in Canva:
- Click “Create a design” in the top right
- Select “Custom size”
- Enter your dimensions in pixels
- Click “Create new design”
Pro tip: Save your custom dimensions as a template so you don’t have to re-enter them every time.
Step 2: Use Text That Sells
Text-based designs are some of the best sellers in print on demand, especially for beginners. Here’s how to make them stand out:
Choose bold, readable fonts. Skip fancy script fonts that are hard to read from a distance. Sans-serif fonts like Bebas Neue, Montserrat, and League Spartan work great for t-shirts.
Limit your font combinations. Use no more than two fonts per design—one for headlines, one for supporting text. Too many fonts look chaotic.
Play with hierarchy. Make the most important word the largest. Use different sizes and weights to guide the eye.
Canva Pro users get access to over 3,000 fonts, but the free tier includes hundreds of high-quality options that work perfectly for POD.
Step 3: Add Graphics and Elements
Want to add graphics to your text designs? Canva has millions of elements you can use:
- Icons: Simple graphics that complement your text
- Illustrations: Hand-drawn style graphics
- Photos: Use with caution—ensure they’re print-quality
Important: Always check the licensing! In Canva, elements marked with a crown require Canva Pro. Free elements work for commercial use, but double-check the license for any third-party graphics.
Step 4: Master Color for POD Success
Color can make or break your design. Here are key principles:
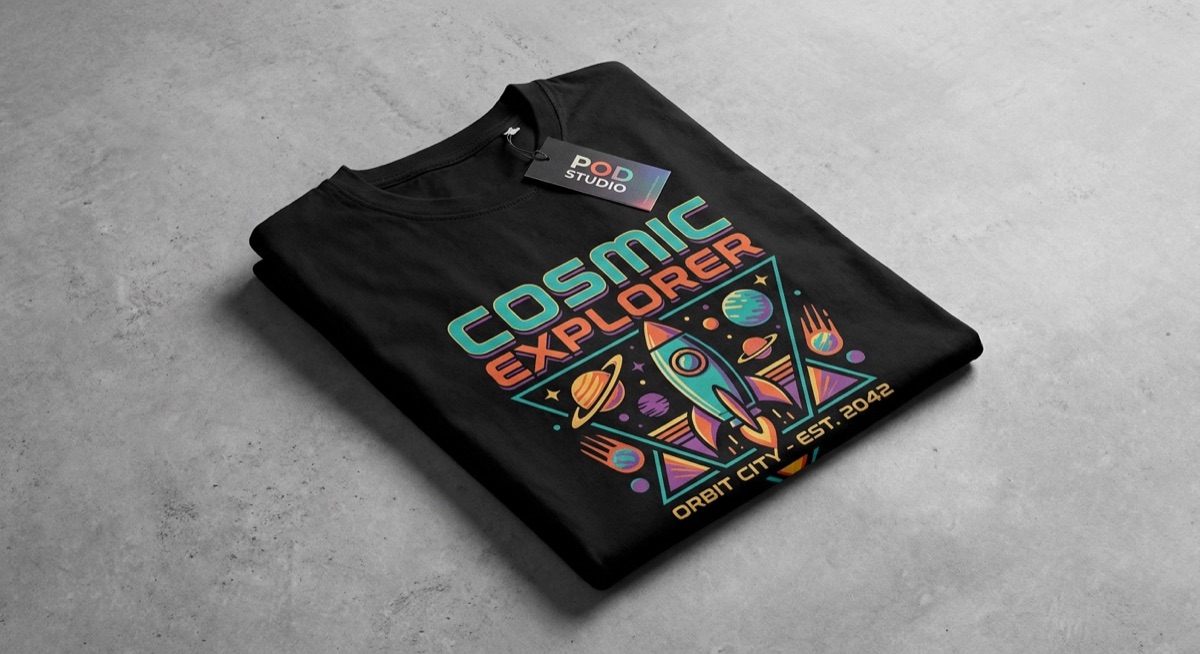
Design for the blank. Always preview your design on different colored shirts. A design that looks great on white might disappear on black.
Use contrasting colors. Your design needs to pop against the shirt color. Dark designs for light shirts, light designs for dark shirts.
Limit your palette. Three to four colors maximum keeps designs clean and professional. Use Canva’s color palette generator to find complementary colors.
Step 5: Export for Print on Demand
This is where many beginners mess up. Here’s the correct export process:
- Click “Share” in the top right corner
- Select “Download”
- Choose PNG format (not JPG)
- Check “Transparent background”
- Click “Download”
The transparent background is crucial—it ensures only your design prints, not a white box around it.
Canva Pro vs Free: What Do You Actually Need?
Can you build a successful POD business with free Canva? Absolutely. But here’s what Pro offers:
| Feature | Free | Pro ($12.99/mo) |
|---|---|---|
| Templates | 250,000+ | 610,000+ |
| Fonts | Limited | 3,000+ |
| Background Remover | No | Yes |
| Brand Kit | No | Yes |
| Resize Designs | No | One-click resize |
Start free. Upgrade when you’re making consistent sales and the time savings justify the cost.
Common Canva Mistakes to Avoid
After reviewing thousands of beginner designs, these are the most common errors:
- Low resolution: Always use 300 DPI minimum
- Forgetting transparent backgrounds: JPG doesn’t support transparency
- Copyright violations: Don’t use trademarked phrases or licensed characters
- Over-designing: Simple designs often sell better than complex ones
- Wrong placement: Keep designs centered and properly sized for the print area
Take Action Today
You don’t need expensive software or design school to create POD designs that sell. Canva gives you everything you need to start right now.
Here’s your homework: Open Canva, create a 4500 x 5400 pixel canvas, and make your first text-based design. Export it as a PNG with a transparent background. Congratulations—you just created your first print-ready design.
Need help choosing what niches and designs actually sell? Skup’s training shows you exactly what’s working in 2026, plus gives you access to a community of successful POD sellers who review each other’s designs.
Frequently Asked Questions
Is Canva good enough for professional print on demand designs?
Yes. Many six-figure POD sellers use Canva exclusively. The key is understanding proper canvas sizes, using high-resolution exports, and focusing on design principles rather than complex tools.
Do I need Canva Pro for print on demand?
No. The free version includes everything you need to create sellable designs. Pro adds convenience features like background removal and more fonts, but isn’t required for success.
What file format should I export from Canva for print on demand?
Always export as PNG with a transparent background. PNG preserves quality and supports transparency, while JPG compresses images and doesn’t support transparent backgrounds.
Can I sell designs made in Canva commercially?
Yes, with conditions. Free Canva elements are licensed for commercial use. However, you cannot resell Canva templates as-is, and you should avoid Pro elements unless you have a Pro subscription. Always check individual element licenses.
]]>