How to Sell on Shopify: A Beginner’s Launch Guide for 2026
You've got a product idea, a few apparel designs, and a Shopify tab open. Then the questions start: Which settings matter? Who ships the order? Should shipping be free? And how much can you spend to get a customer without losing money?
Learning how to sell on Shopify gets easier when you make those decisions in the right order. Choose your fulfillment route first, build prices around the actual costs, and create a store that works on a phone before paying for visitors. You don't need a huge catalog to start. You need a focused offer and a reliable way to deliver it.
Table of Contents
- Your Shopify Launch Path at a Glance
- Fulfillment Options and What Each Costs You
- How to Set Up Your Shopify Store Step by Step
- Product Listings and Mockups That Sell
- Payment Costs and Checkout Setup
- Marketing Your First Sales Without Guesswork
- Launch Your First Store This Week
Your Shopify Launch Path at a Glance
| Phase | What you complete | You are ready when |
|---|---|---|
| Store foundation | Shopify account, theme, store name, currency, policies | Store loads quickly on mobile with policies linked in the footer |
| Product listings | Mockups, titles, sizing details, descriptions | Each product page shows sizing and one clear call to action |
| Fulfillment | Chosen fulfillment partner and shipping zones | Shipping costs are visible before the final checkout step |
| Payments | Payment provider, plan fee check, bank payout setup | A test order completes and payouts go to the right account |
| Marketing | First traffic source and analytics tracking | Analytics shows add-to-cart and purchase events from your traffic |
These phases overlap. Although fulfillment appears after listings in the launch checklist, choose your fulfillment route before building the store or publishing products. Production costs, shipping destinations, and delivery promises all affect the price and information shoppers need.
A print-on-demand tee isn't ready to advertise just because its mockup looks good. You also need to know who prints it, what shipping costs, and what happens if the print arrives damaged.
Use readiness checks, not appearances
A polished homepage is useful, but it isn't proof that the business works. A completed mobile test order, accurate shipping charges, and a positive contribution margin tell you more than another afternoon adjusting colors.
Launch rule: Make the store work before sending traffic, and make each order financially viable before scaling ads.
Your first sale is a reachable milestone, not a reason to rush past the basics. Finish the foundation, listings, and fulfillment checks before spending anything on ads, then verify payments and tracking. Work through the setup routine with those operational decisions already made, rather than discovering them after a customer pays.
Fulfillment Options and What Each Costs You
| Option | Inventory you hold | Who produces and ships | Main trade-off |
|---|---|---|---|
| Print-on-demand partner | None | Partner prints and ships | Per-item production cost and production time to communicate |
| Self-fulfilled stock | Full stock bought upfront | You pack and ship | Cash tied up in stock and packing time |
| Supplier import app | None | Supplier ships | Lower upfront commitment with shipping times you must set expectations for |
Print-on-demand lets you launch without buying finished inventory upfront. You pay for production as orders arrive, which makes testing original apparel ideas more manageable. Self-fulfilled stock gives you control over packing, but requires inventory cash and hands-on work; supplier sourcing requires careful checks on quality and delivery.
Use this comparison to choose the operating model you can manage consistently.
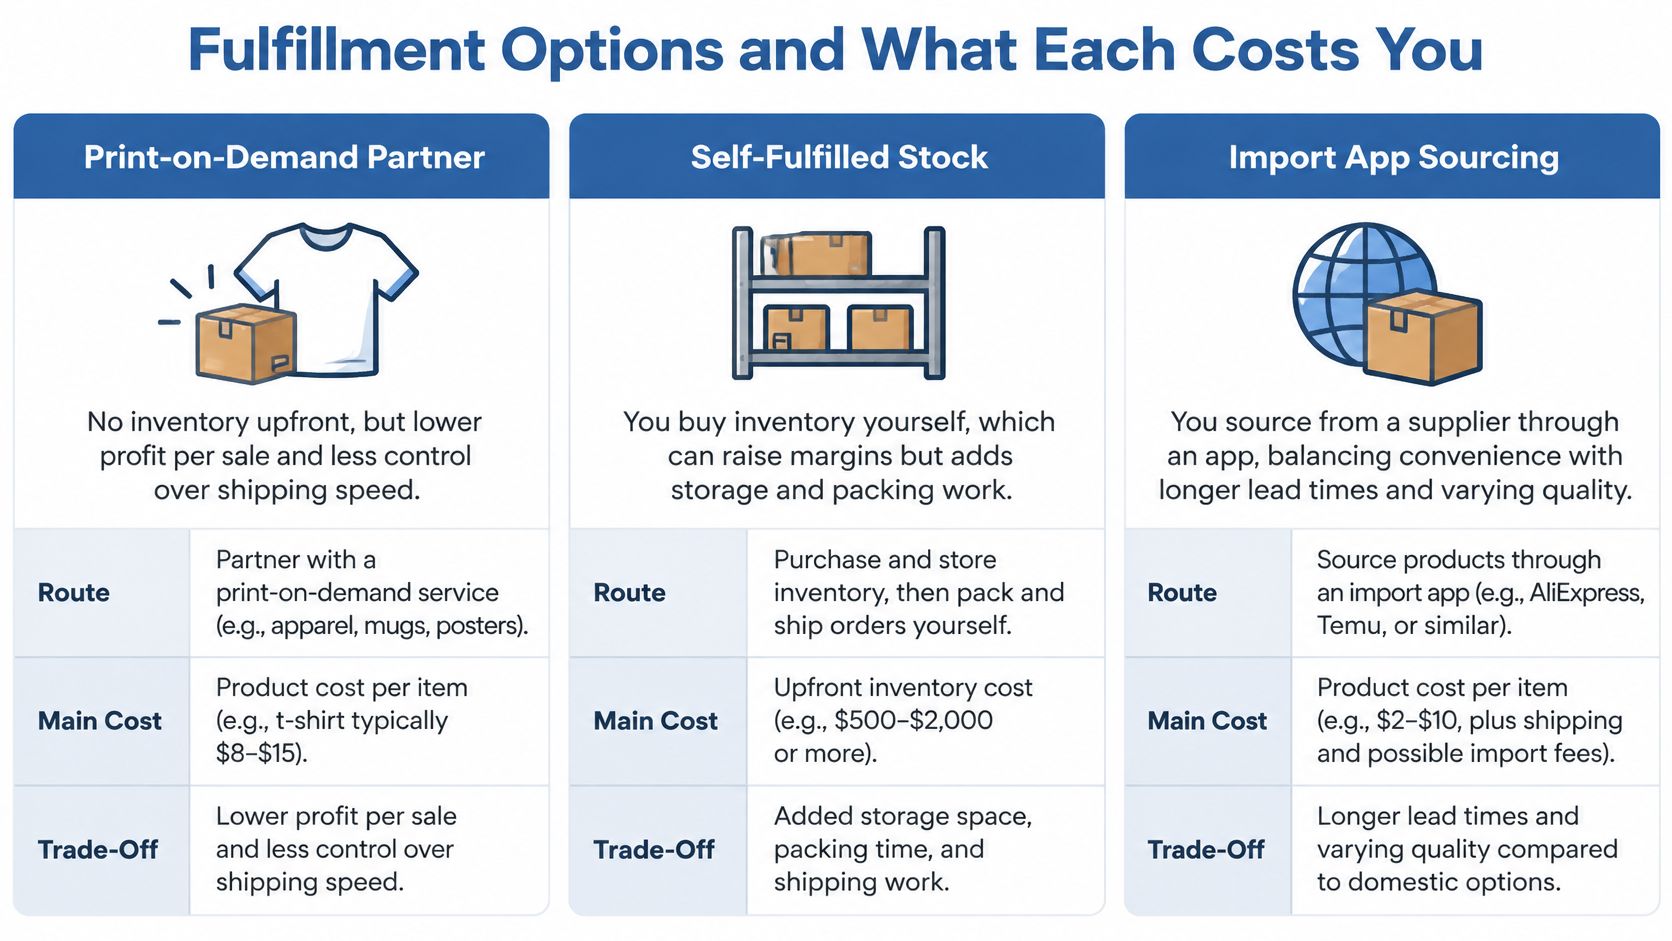
If you're weighing inventory ownership against made-to-order production, Genpire's comparison of custom manufacturing versus print on demand helps frame that decision.
Calculate what an order actually leaves
Say you sell a $35 tee with $14 production, a $3 shipping subsidy, and a hypothetical $0.70 transaction charge. That leaves $17.30 before ads, refunds, replacements, and other applicable costs.
The example assumes the Basic plan's third-party-provider transaction percentage. It isn't a complete payment-processing estimate: removing that additional charge through an eligible Shopify Payments setup doesn't remove standard card processing.
Your working formula is:
Contribution margin = selling price minus production, fulfillment, payment costs, shipping subsidy, refunds, replacements, and customer-acquisition cost.
Account separately for applicable taxes and currency conversion. Use the Shopify shipping calculator guide to assess destinations before promising free shipping.
DHL's 2025 global ecommerce report found that 92% of shoppers return at least some online purchases, making a clear returns process a day-one requirement, not a later task (DHL report). Explain made-to-order production, sizing-related requests, and how customers should report damaged or misprinted items, while respecting applicable consumer rights.
Let the fulfillment partner fulfill
When Gelato fulfills an order, leave fulfillment to Gelato. Clicking Create Shipping Label in Shopify tells Shopify you're shipping from your own address, which isn't what happens in that arrangement.
Gelato can also import existing products from a connected Shopify or Etsy store and take over fulfillment for items not originally created there. Start with a narrow shipping area you can serve confidently; fewer destinations can make first profit easier to reach than immediate global availability.
How to Set Up Your Shopify Store Step by Step
Build around your chosen product and fulfillment route. Keep a separate checklist for unfinished decisions so you don't confuse an attractive preview with a launch-ready store.
Start with the account and operating details.
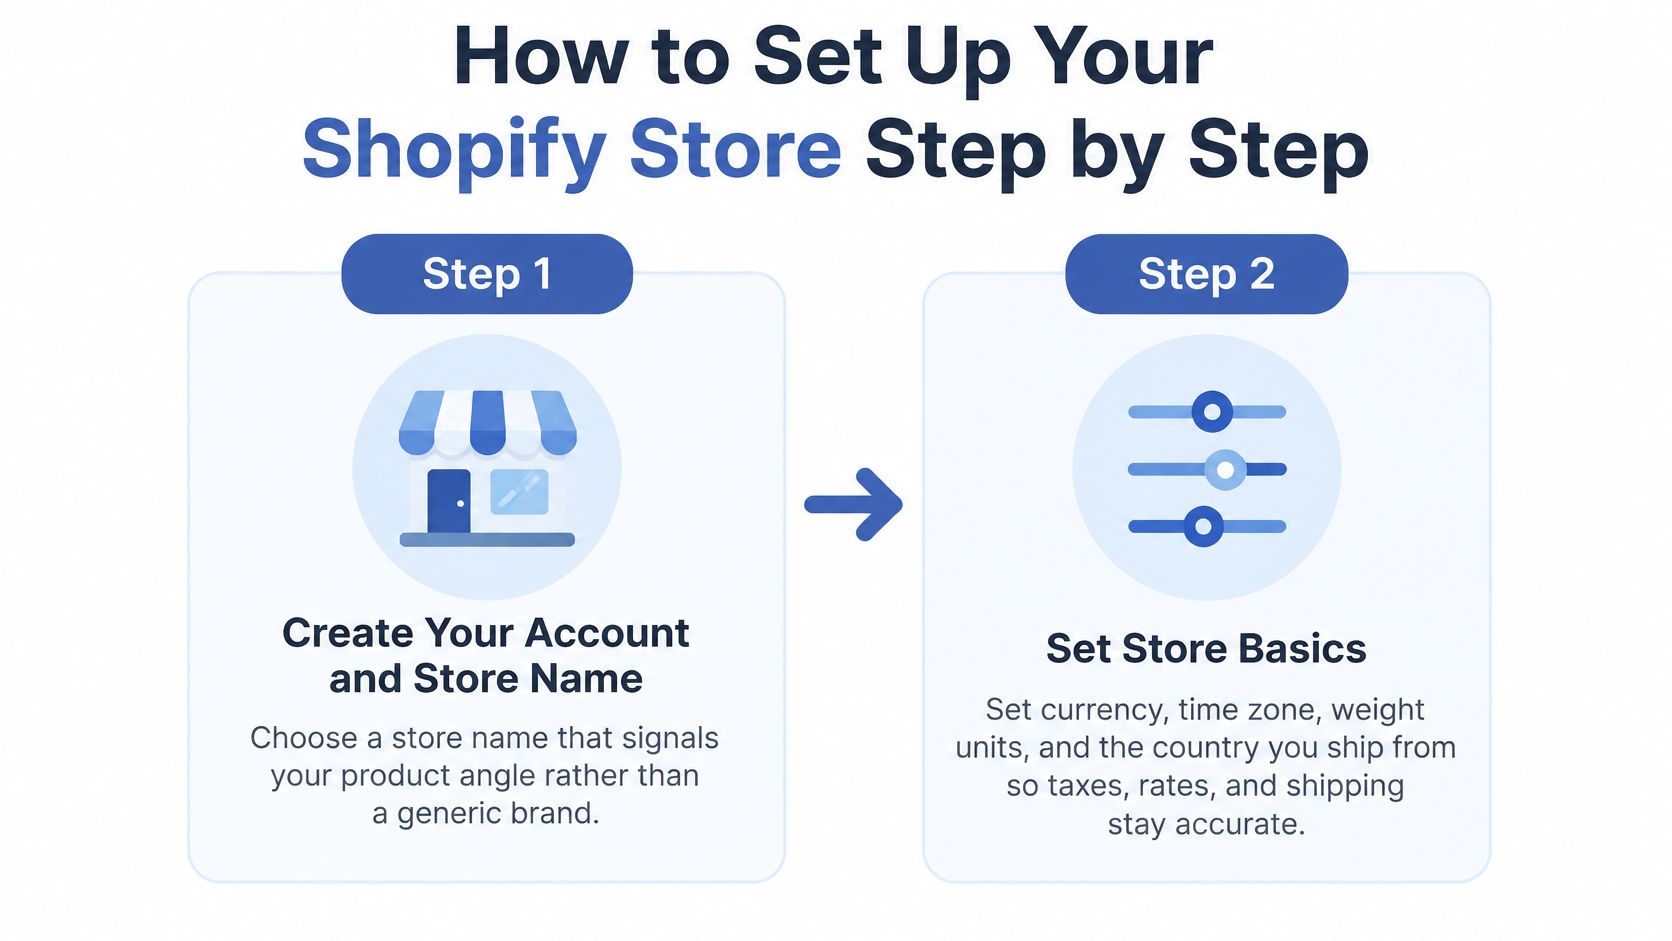
Build the foundation
Create your account and choose a useful store name. Pick a name that fits your product angle, such as outdoor-inspired apparel, rather than a generic name that could describe anything. Leave enough room to expand within that audience without making the store feel unfocused.
Set your operating details. Confirm currency, time zone, weight units, business location, and the relevant shipping origin for your fulfillment arrangement. Don't leave defaults untouched, because these details feed operational settings and can create confusing prices or shipping calculations.
Install and edit your theme. Choose a readable layout with straightforward navigation, then adjust the logo, colors, product template, and footer. Theme changes aren't live until you press Save, and that button appears once something has been edited; check the saved storefront on mobile rather than trusting the editor alone.
Publish your policies. Write shipping, returns, privacy, and terms pages using language that matches how your business operates. For made-to-order apparel, distinguish production time from transit time instead of presenting shipping time as the whole delivery estimate.
Connect the buying journey
Organize navigation around buyer intent. Build a small collection structure based on niche, occasion, or style, such as hiking shirts, gifts for gardeners, or minimalist designs. Avoid empty collections and technical supplier categories that mean little to a shopper.
Connect the payment provider. Configure it in Shopify admin and confirm the bank account connected there, because that's where payouts go. Payments run through your store's payment provider, not through the company printing the garment.
Set shipping zones and rates. Enable only destinations supported by your chosen fulfillment arrangement and check charges for representative products and mixed carts. A supplier's ability to ship somewhere isn't enough reason to promise that destination before checking the economics.
Place a test order from a phone. Confirm variant selection, shipping charges, confirmation emails, and the order record, then test the refund workflow. Use Shopify's supported test mode where appropriate; if you place a real transaction, remember that payment fees may not be returned.
A finished foundation is easy to recognize: the storefront works on mobile, policies are linked in the footer, and order notifications reach the correct inbox. Also check that a test order won't accidentally trigger production while you're still reviewing the workflow.
Product Listings and Mockups That Sell
Start with a specific customer and a clear product angle. A gardening-themed tee for someone buying a gift needs different copy and imagery from performance clothing for outdoor exercise.
Build the page around what that buyer needs to decide, not around everything the supplier says about the garment.
Put purchase information in the right order
- Name the niche and garment. A title such as Weekend Gardener Botanical T-Shirt communicates more than a vague collection name.
- Show sizing and variants before purchase. Provide garment measurements and explain the fit using verified product specifications. Make color and size selections easy to distinguish.
- Write original benefits. Explain why the design suits the buyer or occasion, then support practical claims with actual garment details. Don't invent fabric, durability, or sustainability claims.
- Answer delivery and returns questions. Put production expectations, shipping information, and a visible returns link close to the purchase area.
- Keep one primary action. Make Add to cart the obvious next step rather than surrounding it with competing banners.
For imagery, combine a lifestyle view on a model, a flat lay in the selected garment color, and a close-up that helps shoppers understand the print. Order a sample before representing a generated close-up as evidence of actual print quality.
AvatarIQ, Skup's design and mockup software, can generate apparel designs and product mockups without hiring a photographer. That helps you prepare variants efficiently, but every mockup must match the garment, design placement, and color the buyer receives.
Use the Shopify image sizes guide to prepare consistent product images without unnecessary file weight.
A useful listing connects the garment, imagery, and operational details in one place.
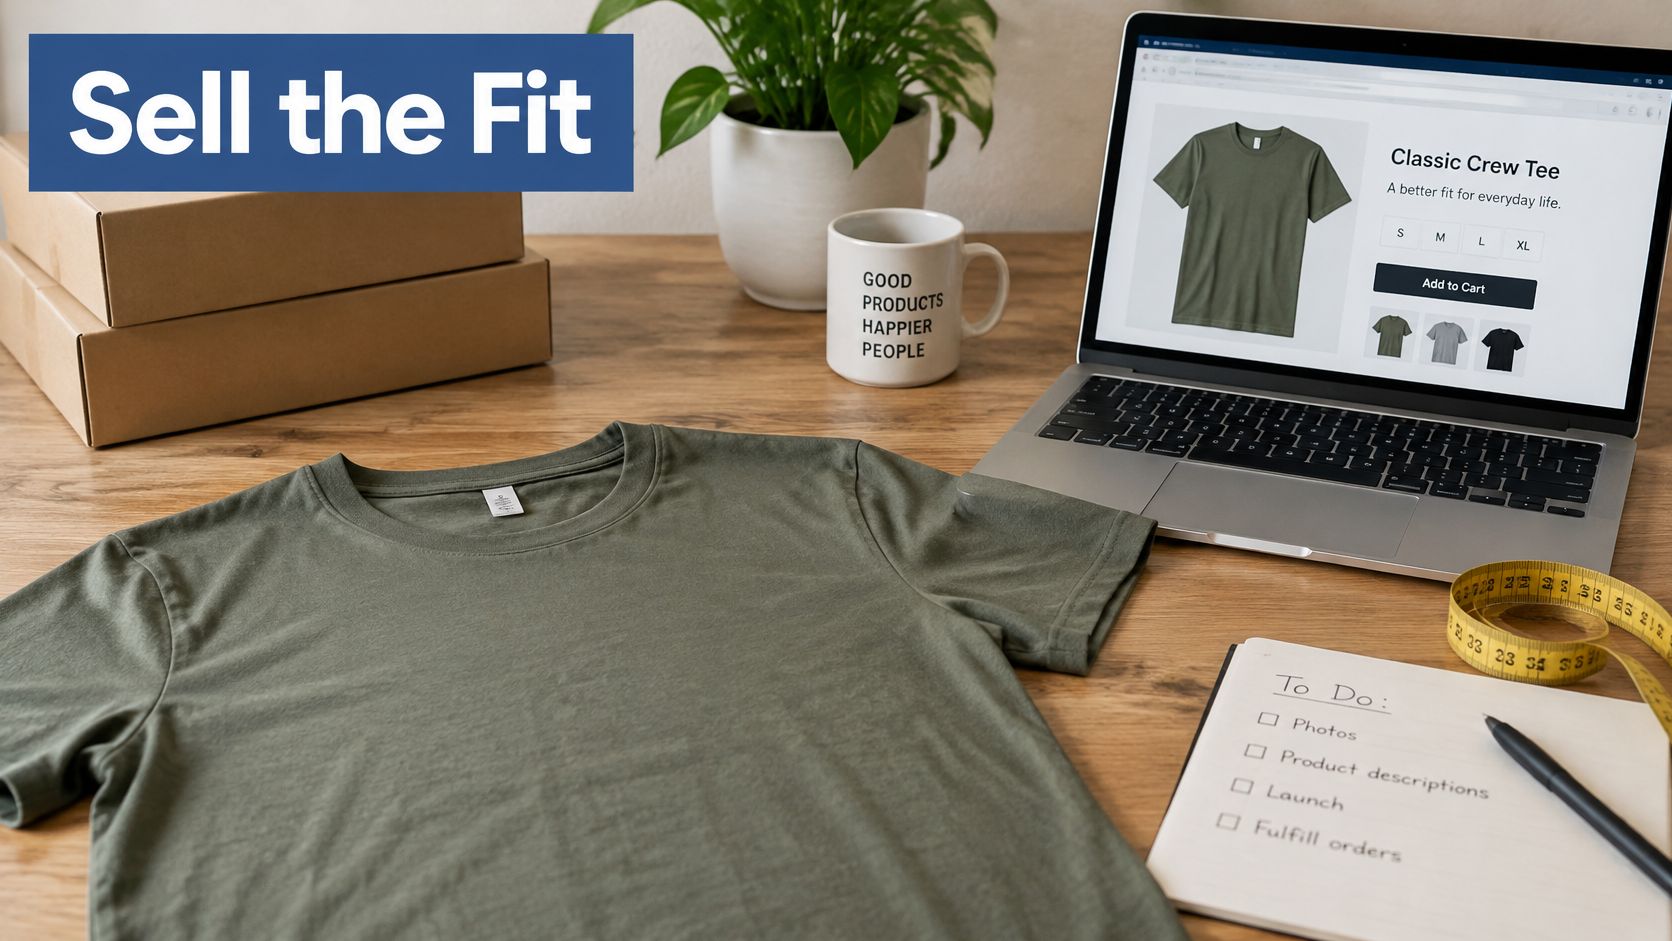
Make product information consistent
Connect the store to Google Merchant Center with stable product IDs, accurate price, availability, currency, and identifiers where available. Build a specific category path rather than leaving products broadly classified.
Google's product data specification requires product information to match the landing page; use a detailed taxonomy at least two to three levels deep where appropriate. Check that the selected variant, advertised price, and actual availability agree.
Change only one variable per test, such as the hero image, garment color, or price. Judge results using add-to-cart behavior, purchases, and contribution margin, not views alone: a popular image isn't a winning offer if customers don't buy profitably.
Payment Costs and Checkout Setup
| Shopify plan | Third-party provider fee |
|---|---|
| Basic | 2%, or $0.80 on a hypothetical $40 order |
| Grow | 1%, or $0.40 on a hypothetical $40 order |
| Advanced | 0.6%, or $0.24 on a hypothetical $40 order |
| Shopify Plus | 0.2%, or $0.08 on a hypothetical $40 order |
These additional transaction rates come from Shopify's published pricing; the dollar amounts illustrate each rate on a hypothetical order. They apply to third-party-provider arrangements and aren't a substitute for checking the provider's own processing charges.
When Shopify Payments is your sole payment provider, Shopify says there are no additional third-party transaction fees, although subscription and credit-card processing fees still apply (Shopify Payments cost documentation). Availability, processing rates, and customer payment preferences should guide your choice.
Separate order costs from overhead
Add the applicable transaction charge and processing cost to every product-margin calculation and advertising break-even figure. Don't upgrade a plan solely for a lower percentage without comparing the subscription difference against your actual sales volume.
Shopify bills your subscription directly, separately from purchases from Skup. We don't have access to Shopify billing, so keep that subscription in your business overhead and manage billing questions through Shopify.
Configure checkout rather than redesigning it
Shopify controls the checkout flow, not the theme, so we can't change or debug that flow through a Skup theme. Your practical levers are the available checkout and payment settings.
- Allow guest purchases. Don't require customers to create an account just to place an ordinary order.
- Disclose delivery costs and timing. Check what shoppers see before the final payment step.
- Display accepted methods clearly. Verify that the options shown are enabled.
- Use a real phone. Test address entry, payment selection, error messages, and the order confirmation screen.
For a broader diagnostic checklist, Robosize's guide to reduce checkout abandonment offers useful context for reviewing purchase friction.
A customer should be able to understand what they're paying, when to expect the order, and how to get help without contacting you first.
Keep the purchase path simple enough to explain in a sentence. Clarity won't guarantee conversion, but it removes avoidable uncertainty at the moment someone is ready to buy.
Marketing Your First Sales Without Guesswork
Baymard Institute puts average ecommerce cart abandonment at 70.19%, and reports that 40% of shoppers abandoned because extra costs were too high (Baymard checkout research). Before buying more traffic, make sure interested shoppers can see the total cost early.
Review marketing alongside purchase behavior, not just clicks.

Start with a relevant audience
Use your Merchant Center feed for eligible Google product discovery, publish social content showing the design on people, and approach creators whose audience matches the niche. Agree on deliverables, usage rights, and sponsorship disclosures before a collaboration begins.
Keep the same product name, visual identity, and core promise across channels. Clear descriptions, genuine reviews, FAQs, and shipping information help people and discovery systems understand what you sell, although no format guarantees a recommendation.
Shopify reported that AI-search traffic to its stores grew more than eightfold year over year by Q1 2026, and AI-referred visitors converted at nearly 50% higher rates than organic-search visitors (Shopify's ecommerce trends analysis). That's a reason to make product information understandable, not to abandon other channels.
Run a controlled first test
- Set a spending limit. Begin with a small daily budget you can afford to lose while diagnosing the offer.
- Track meaningful actions. Monitor cost per add-to-cart, checkout initiation, purchases, and remaining margin.
- Recover with consent. Send reminders only to shoppers who gave appropriate consent, restating the product, size, and price without invented scarcity.
- Avoid premature conclusions. Treat an initial batch of qualified sessions as diagnostic evidence, not proof that a product can scale.
For planning beyond the first campaign, use these marketing strategies for startups. If technical search work becomes a bottleneck, Wispra's guide to choosing a Shopify SEO expert can help you evaluate outside support.
Use this video alongside your launch planning.
A consistent product identity gives shoppers something to recognize when they encounter your brand again. Build that familiarity while testing which channel brings buyers, not merely visitors.
Launch Your First Store This Week
A launch deadline helps you make decisions, but it should not push you into buying traffic before the store is ready. Keep the catalog focused enough to check each product page, confirm its costs, and answer customer questions.
Use a firm go-live checklist
- Policies are live. Link shipping, returns, privacy, and terms from the footer. State made-to-order production expectations plainly.
- Product pages are complete. Start with a manageable catalog, such as five to ten pages. Check each page for accurate mockups, sizing information, and a clear purchase action.
- Costs and returns are clear. Show shipping charges and explain the returns policy before checkout.
- The mobile order works. Test the purchase flow on a phone and check the refund process without triggering unwanted fulfilment.
- Analytics records the journey. Confirm that your chosen traffic source records add-to-cart and purchase events.
- Margins include payment costs. Include provider charges when calculating product profitability and your advertising break-even point.
Wait to start paid advertising until all six checks pass. Set an initial budget you can afford to lose while you learn from the results.
If you want Skup to build your store, first start the Shopify free trial at skup.net/shopify. Skup cannot begin the build before the trial is active. You still need to choose your product and fulfilment route, so shipping costs can be reflected in your product prices before listings go live.
A first store does not need to be elaborate. It needs a clear offer, known costs, and pages you can maintain with confidence. Improve the store as you learn how customers respond.
Skup offers software, coaching, and community to help Shopify store owners build a brand they are proud of. Visit Skup to ask about a store build, or explore the Apparel Cloning System for step-by-step training in launching a print-on-demand apparel business.