How to Create T Shirt Mockups: A Step-by-Step Guide
You've finished a shirt design, chosen a blank, and opened your product listing. Then you drop the artwork onto a shirt image and something looks wrong. The print floats above the fabric, the shirt looks smaller than it should, or the lifestyle scene hides the detail you're trying to sell.
Learning how to create T-shirt mockups is mostly about making a few repeatable decisions. Set your export target, match the actual garment, and give every image a buyer question to answer. You don't need an elaborate photoshoot to build a convincing listing, but you do need visuals shoppers can trust.
Table of Contents
- Export Sizes and Specs for Every Mockup
- Choosing the Right Image Set for Buyers
- How to Build a Mockup Step by Step
- AI Mockups and Pre-Publish Quality Checks
- Launch Your First Mockup Set This Week
Export Sizes and Specs for Every Mockup
Mockup export sizes by platform
| Platform or use | Minimum | Recommended | Notes |
|---|---|---|---|
| Google Merchant Center product image | 250 × 250 px | Product fills 75–90% of the frame | Max 64 MP and 16 MB |
| Google clothing image | 1024 px width | 1500 px width | Show the shirt worn by a person |
| Google virtual try-on | 512 × 512 px | 1024 px or higher | One model or flat lay with the whole garment visible |
| Shopify product image | Match the largest storefront display size | 2048 × 2048 px square | Max 25 MP and 20 MB upload; aim for 200 KB or less |
| Transparent artwork or sharp text | Preserve enough resolution for the intended display | Export as PNG | Use JPEG for photographic mockups |
For apparel, Google Merchant Center's product-image requirements set a minimum of 250 × 250 pixels, limits of 64 megapixels and 16 MB, and recommended product coverage of 75% to 90% of the image. These are different checks: an image can meet the pixel requirement while showing a shirt that's too small to evaluate.
Treat minimums as acceptance thresholds, not creative targets. A tiny shirt surrounded by attractive scenery gives shoppers less useful information than a clear, well-framed garment.
Choose a reusable export preset
For photographic mockups, I would use a square JPEG preset at the recommended Shopify dimensions in the table. Keep a larger, editable master so you can create different crops without repeatedly enlarging a compressed export.
Use PNG when transparency or crisp graphic edges matter. Don't automatically export every model photograph as PNG, because the heavier file may offer little visible benefit.
Our Shopify image-size guide helps you match product images to their storefront placements. Check the theme's actual display, too: a square upload can still appear cropped inside a differently shaped product card.
Practical rule: Keep the editable master, make platform-ready exports from it, and never use a downloaded thumbnail as your next master.
The table is a checklist, not a barrier. Once you've saved the preset and framing guides, the rest of your mockup set can follow the same target.
Choosing the Right Image Set for Buyers
A shopper who stops on a product page is usually checking whether the shirt will match the listing after it arrives. 42% of users try to determine a product's size from product-page images, while 21% of apparel sites in a separate benchmark failed to provide images on a human model, according to Baymard Institute's product-page research. Treat every frame as a trust asset. If it does not answer one buyer question, it does not earn a slot, and a faster AI render does not fix a set that still leaves fit or print unclear.
A mockup set works like a helpful salesperson. Show the complete product, show how it wears, and make the print easy to inspect.
The five-image set and the question each image answers
| Image | Question it answers | Setup note |
|---|---|---|
| Front-facing primary mockup | What does the full shirt look like? | Complete garment, no overlays, same crop as every variant |
| Model or lifestyle view | How does it fit and look when worn? | Head and feet visible in full-body compositions; garment stays the focus |
| Back or side view | Is there print on the back or a different shape? | Same canvas and scale as the front |
| Close-up detail | How does the print look up close? | Shows print edges and fabric texture |
| Flat or size-reference shot | How big is it really? | Believable garment proportions on a simple background, with meaningful scale context |
Choose evidence over repetition
A clean front view makes comparison easy. A model view adds body context. A close-up lets shoppers read lettering and check placement. A flat lay clarifies shape, but it does not set exact dimensions by itself, so keep the size chart on the page.
For eligible imagery, Google's apparel virtual try-on guidance specifies 512 × 512 pixels minimum, with 1024 pixels or higher preferred. It calls for the whole garment on a single front-facing model or mannequin, or shown flat, without hands or accessories obscuring details.
Keep the pose simple and the top untucked. Sleeves should be rolled down. For other tops, keep hoodie hoods down and zippers closed. Google also recommends human-model clothing imagery, multiple angles, and close-ups in its product-image guidance.

Near-identical lifestyle shots add scrolling without answering a new question. An AI mockup is worth the speed only when the worn view and the close-up still support buyer confidence and cut avoidable returns. Use our product photography tips to plan those angles instead of collecting interchangeable scenes.
Before approving the set, check that shoppers can identify:
- Color: The actual garment shade.
- Fit: The silhouette and sleeve shape.
- Print placement: Where the artwork sits.
- Length: How the hem falls when worn.
How to Build a Mockup Step by Step
Build your mockup as an editable production file, not a flattened picture you'll need to rebuild whenever something changes. Keep the source artwork separate from the garment and save the finished setup as a reusable template.
Build the garment and artwork together
Start with a sharp blank-shirt photograph or template. Choose the actual neckline, sleeve style, fit, and garment color you're selling. A low-resolution starting image produces soft edges that a high-resolution export won't repair.
Place the artwork on its own layer. Keep the original aspect ratio and transparent background so you can reposition the design without altering the shirt. Stretching artwork to fill an arbitrary box makes lettering and illustrations look wrong before you've even applied fabric effects.
Match perspective and fabric contours. Use perspective controls for the overall chest angle, then a displacement map to bend the artwork around local folds. If the graphic looks like a rigid card hovering over the shirt, this stage needs attention.
Preserve shading with clipping and blend modes. Clip the artwork to the garment and adjust blending so appropriate shadows and highlights remain visible. Don't lower opacity until the print looks washed out; the goal is believable ink, not a transparent watermark.
Check the printable area. Compare your placement against the fulfillment template and use the garment's centerline as a reference. Oversized artwork usually means the graphic was scaled beyond the decoration zone, not that the shirt needs a more dramatic crop.
For transfer-based production, Cobra DTF's shirt design tips for DTF printing provide useful context before you commit to a mockup. Your visual should represent artwork that's prepared for the intended printing process, rather than an effect that exists only on screen.
Finish the export and variant system
Export the primary image and contextual views. Use the export preset you've already chosen instead of inventing a new size for every scene. Google's clothing-image guidance recommends at least 1024 pixels, with 1500 pixels in width suggested for stronger compatibility and zoom quality.
Lock the presentation across color variants. Keep canvas size, camera angle, garment scale, background treatment, and placement consistent. Switching from a tight crop on black to a distant view on white makes the variants harder to compare.
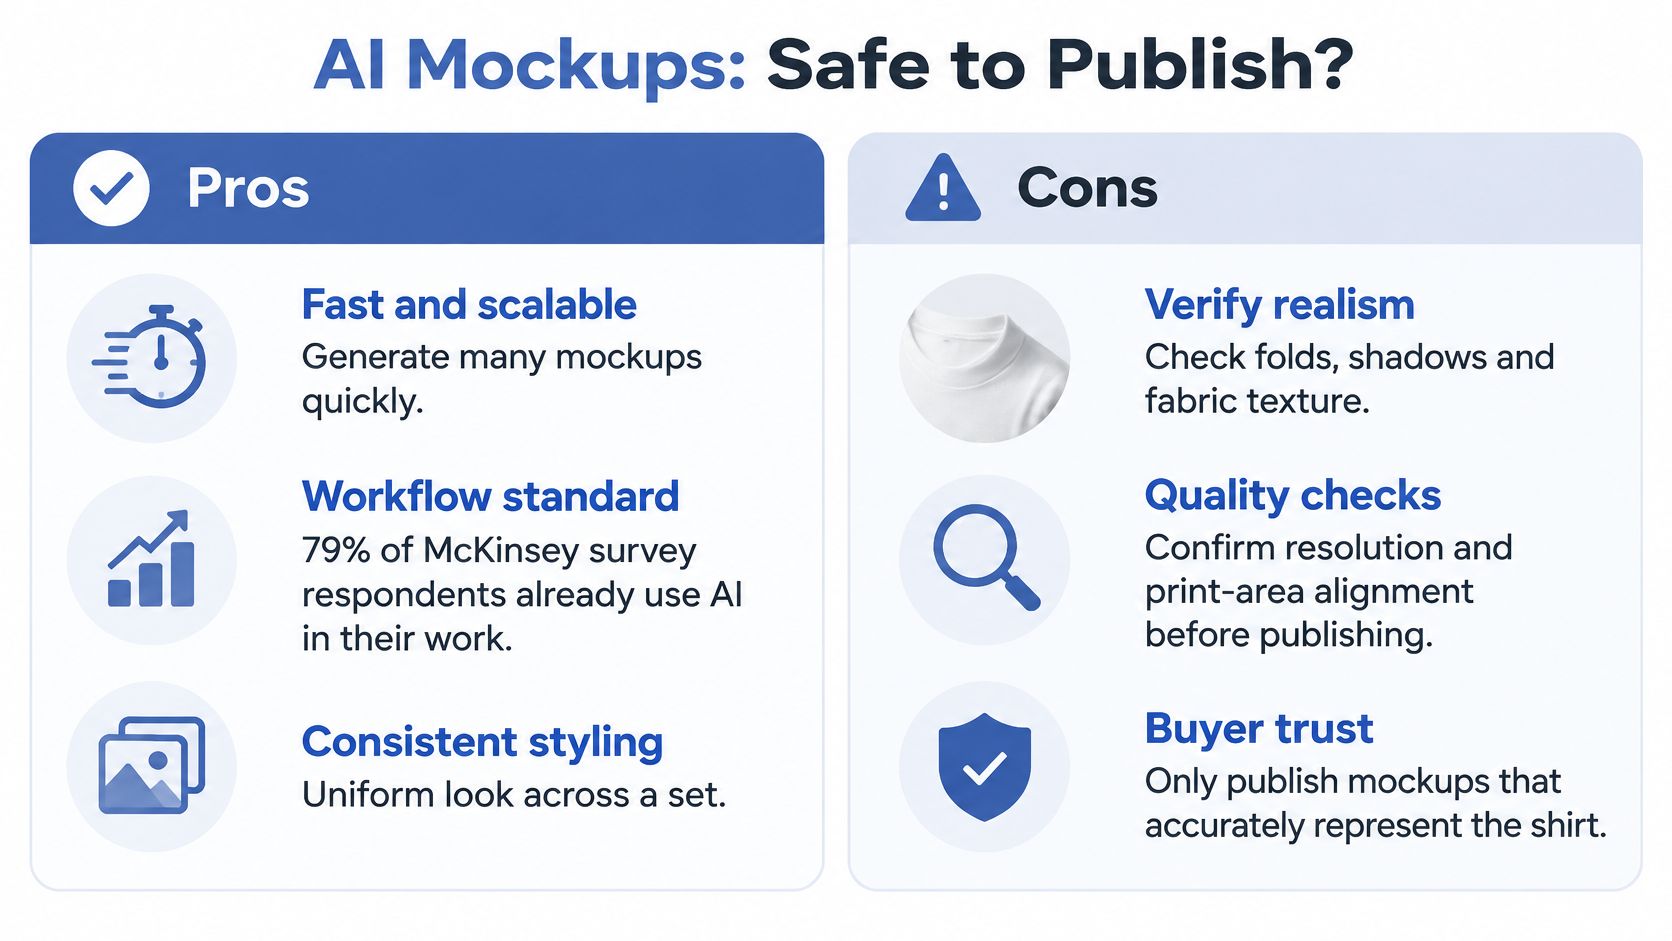
Treat AI workflow claims separately from product accuracy. Familiarity with a technology doesn't establish that a particular mockup is ready to publish.
A finished mockup should look printed, not pasted: the design follows the shirt, the folds remain believable, and the artwork still reads when the image is small.
Save the editable version before creating the next variant. That file becomes your starting point for a new design, while the exported image remains a listing asset rather than a working document.
AI Mockups and Pre-Publish Quality Checks
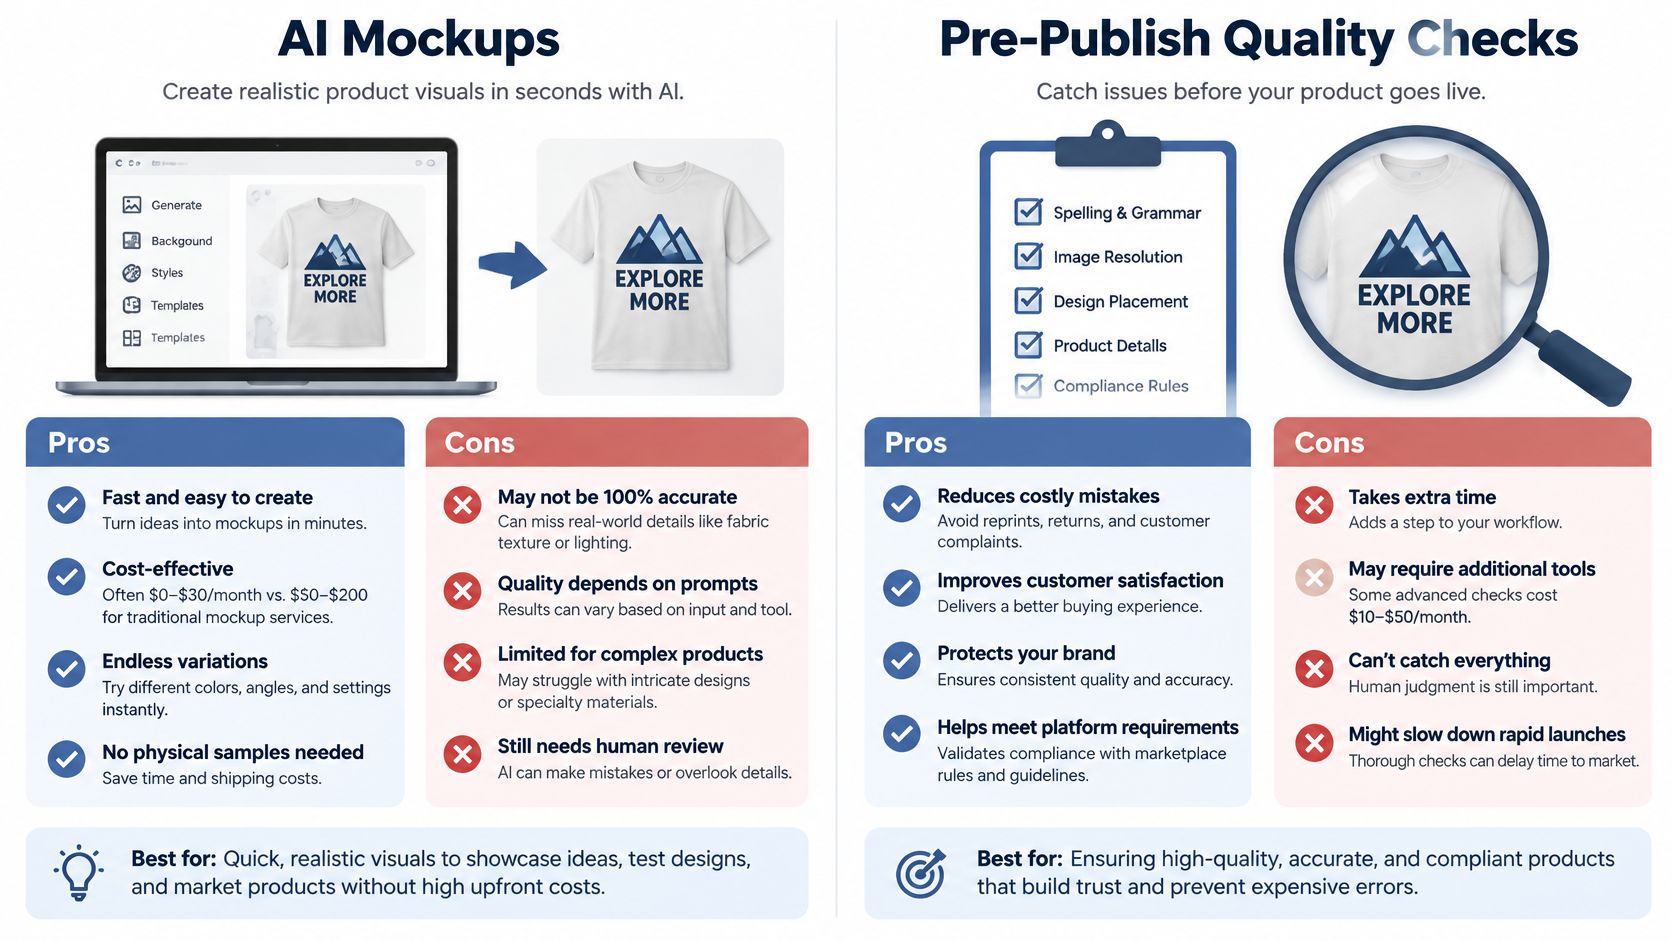
When is an AI mockup safe to publish? When you can verify that it represents the garment and print you're offering. A convincing setting isn't enough if the generator changes the neckline, redraws the design, or invents a different sleeve.
AI is already familiar to many workers. According to Pixelz's 2024 E-commerce Visual Trend Report, 79% of respondents to McKinsey's global survey had at least some exposure to generative AI in 2024, while 22% reported using it regularly in their work. Exposure isn't the same as regular use, and neither figure replaces a product-specific quality check.
Generate the scene without surrendering control
Write a garment-specific prompt. Fix the color, neckline, sleeve length, fit, view, and intended print placement before describing the setting. For example: a black crew-neck T-shirt, untucked, front-facing model, unobstructed chest, soft daylight, simple background.
Avoid competing instructions such as dramatic folds, crossed arms, and a fully visible chest print. Ask for a scene in which the product is easy to inspect, not merely an impressive fashion image.
Choose a person and place that support the product. A relaxed outdoor scene can suit a nature-themed design, but the location shouldn't overpower the shirt. Keep props away from the print and avoid poses that stretch the chest into an unfamiliar shape.
Our guide to AI design tools for apparel workflows can help you evaluate where AI assistance fits. Judge the workflow by how much control you retain over the product, not just how attractive the initial output looks.
Separate attention images from proof images. A polished AI lifestyle scene can introduce the idea, while an accurate garment render, detail view, and photographed production sample establish what the customer receives. If a generated hero image can't pass the accuracy audit, use a cleaner product image instead.
Hero versus proof is a responsibility split, not permission to exaggerate in the first image. Every published view still needs to describe the same shirt.
Plan honest disclosure. Follow the applicable platform rules for synthetic imagery and avoid presenting generated scenes as photographs of a physical sample. Consider how a shopper would interpret the image if they knew how it was produced.
Trust is especially important for graphic apparel because buyers may choose a design to express their identity. Don't assume an AI label can compensate for inaccurate lettering or an impossible garment.
Run a checkable publishing audit
Compare the generated image with the source artwork. Read every word, inspect punctuation, and compare illustration details. Reject warped lettering, substituted symbols, and graphics that look embroidered when you're offering a printed design.
Inspect the surrounding construction as well: distorted hands, impossible seams, mismatched sleeves, and collars that merge into skin are reasons to regenerate or replace the image. Don't hide these problems with a smaller export.
Test thumbnail and mobile views. Shrink the image to a product-card preview and check whether the main design remains recognizable. Then inspect the listing at mobile width for clipped print edges, awkward crops, and excessive empty space.
Keep the same crop sequence across listings so customers can browse predictably. A mobile shopper shouldn't have to open every image to discover which view shows the complete front.
Match the blank and compress carefully. Compare garment hue against the actual blank or production sample under sensible lighting. Don't use a warm lifestyle filter to conceal a color mismatch.
Shopify's image-optimization guidance recommends resizing to the maximum display dimensions and aiming for 200 KB or less where quality permits. Reduce file weight without shrinking beneath the clothing-resolution target, and inspect lettering for halos, dark fabric for banding, and print detail for smearing.
Write useful alt text for each informative view. Describe what the image adds rather than repeating the product title or stuffing in keywords. SitePoint's accessible ecommerce guidance explains the distinction between informative images that need meaningful alternatives and decorative images that should use empty alt text.
For example: Black crew-neck T-shirt on a model, with a white fox line drawing centred on the chest, front view. A rear-view description should explain the back rather than duplicate that sentence.
Publish-or-replace test: If you need to explain away a visible difference between the mockup and the product, replace the image.
Keep a simple approval record with the artwork, blank style, approved mockups, and sample reference. That makes future updates easier and helps you identify which asset needs replacing when a garment option changes.
Speed matters, but generation time isn't the whole measure. Track the time you save alongside conversion, complaints, and returns connected to appearance expectations. The useful shortcut is the one that gets an accurate listing live faster.
Launch Your First Mockup Set This Week
Choose a design you're ready to sell and a garment you can represent accurately. Don't begin by generating a large collection of unrelated scenes. Build a coherent listing for that product, then save the process.
Give the first session a clear finish line
- Prepare the source files: Put the artwork, blank reference, and print-area template in the same project folder.
- Build the listing assets: Finish the primary view, then add the model, rear or side, and detail views that answer genuine buying questions.
- Approve the finished gallery: Run the audit, add image descriptions, and inspect the uploaded listing on desktop and mobile.
- Save the reusable setup: Keep the editable master, export preset, and approved scene instructions for the next design.
A polished set can come together in a single session once those decisions are in place. Your early effort goes into building a dependable setup; subsequent designs let you reuse it instead of starting from an empty workspace.
Use an accelerator when the process is clear
AvatarIQ was created specifically for print-on-demand apparel and jewelry businesses, and we recommend starting with those. Its mockup tool creates custom product mockups with one click, based on a product type and the kind of person or place you want to showcase it. Content made with AvatarIQ can be used on Etsy, through social media, or with friends and family, and running paid ads isn't required.
That gives you options for putting an apparel idea in front of people without committing to an advertising campaign. You can prepare a listing, share the design in a relevant social setting, or gather feedback while keeping the product presentation consistent.
Start today by finishing your front-facing mockup and checking it against the actual blank and artwork. A clear visual set is one of the most affordable ways to present an apparel idea with confidence, and it's a practical step toward building an ecommerce business you can keep improving.
Skup offers AvatarIQ for creating POD designs and product mockups, alongside the Apparel Cloning System for learning how to build an apparel business. Visit Skup to explore the tools and choose a starting point for turning your next shirt design into a clear, buyer-ready listing.