Home » Blog » Shopify Image Sizes A Guide to Perfect Product Photos
Getting your Shopify image sizes perfect is one of the fastest ways to make your products look irresistible and your store run at lightning speed. When it comes to product images, the gold standard is a square 2048 x 2048 pixel canvas. Nailing these dimensions gives you that crystal-clear quality and flawless zoom that builds immediate customer trust.
Your Blueprint for Perfect Shopify Images
Let's start with a core concept: your store’s images are your digital storefront. When you walk past a physical shop, a clean, well-lit, and beautifully arranged window display is what pulls you in. Your Shopify images do the exact same job online.
They communicate quality, build trust, and create an emotional connection with your products before a customer even reads a single word of your descriptions. This is especially true if you're in the print-on-demand space, where your designs are the product. Showing them off with sharp, perfectly sized mockups isn't just a nice-to-have; it's a must.
Getting this right from day one is a huge leap toward building a profitable business you can be proud of. It’s your chance to stand out and create an experience that feels premium from the very first click. The opportunity in e-commerce is absolutely massive, and mastering your visuals is a key step to claiming your piece of it.
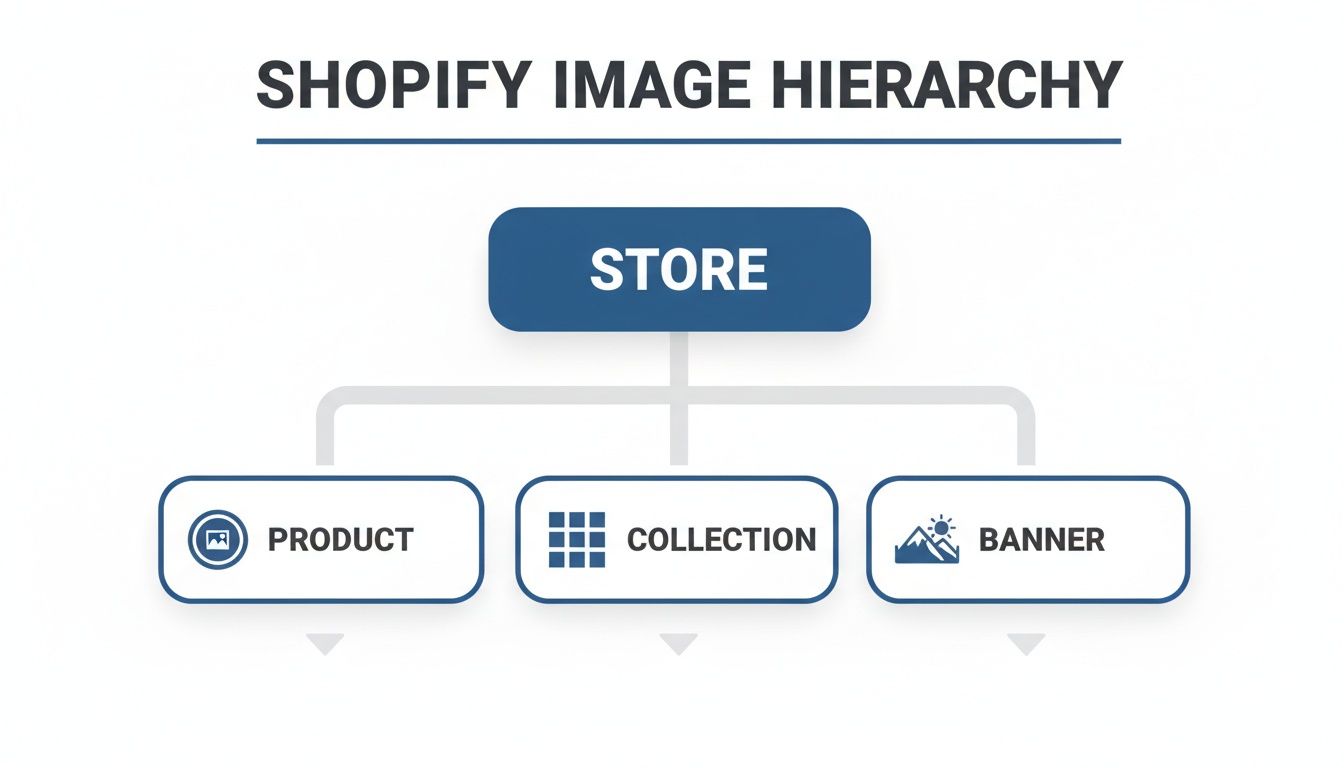
Understanding the Image Hierarchy
Every image on your site has a specific job. Some are meant to grab attention on the homepage, others need to show off fine details on a product page, and some just set the overall mood of your brand.
At a high level, you can break down your store's visual structure into three main categories.
Each of these—products, collections, and banners—requires a slightly different approach to sizing and styling to create a shopping experience that feels cohesive and professional.
The goal is to make your brand look established and trustworthy, even if you just launched yesterday. Consistent, high-quality images are your shortcut to achieving that professional polish that gives customers the confidence to buy.
Shopify Image Size Quick Reference Guide
Before we dive deep into each image type, here’s a quick-glance table with the most common dimensions you'll need. Think of this as your cheat sheet for getting things right, fast.
Image Type
Recommended Size (Pixels)
Best Aspect Ratio
Key Tip
Product Images
2048 x 2048
1:1 (Square)
Ensures crisp zoom functionality and looks great on all devices.
Collection Images
1024 x 1024
1:1 (Square)
Consistency is key here for a clean, grid-like collection page.
Slideshow Images
1800 x 1000
16:9 (Widescreen)
Use a landscape ratio that fills the screen without being too tall.
Banner Images
1200 x 400
3:1 (Wide Banner)
Perfect for headers or promotional sections that need to be wide but not deep.
Favicon
32 x 32
1:1 (Square)
Keep it simple! This tiny icon represents your brand in browser tabs.
This table covers the fundamentals, but the real magic happens when you understand the "why" behind these numbers. Let's get into it.
Why Consistency Is Your Superpower
Ever landed on a store where the collection page is a jumble of different-sized images? It feels chaotic and unprofessional, right? That visual mess distracts from the products and can make potential buyers question your brand's credibility.
Using uniform dimensions, especially for your product and collection images, creates a clean, organized grid that’s easy on the eyes and simple to browse.
This is a core principle of good Shopify store design that top-tier brands follow religiously. It accomplishes a few critical things all at once:
Builds Professionalism: A consistent look signals that you care about the details.
Improves User Experience: It makes browsing your store feel intuitive and frictionless.
Strengthens Brand Identity: It helps create a cohesive visual theme across your entire website.
By focusing on getting your Shopify image sizes right from the start, you aren’t just uploading pictures—you're strategically building a powerful, conversion-focused brand.
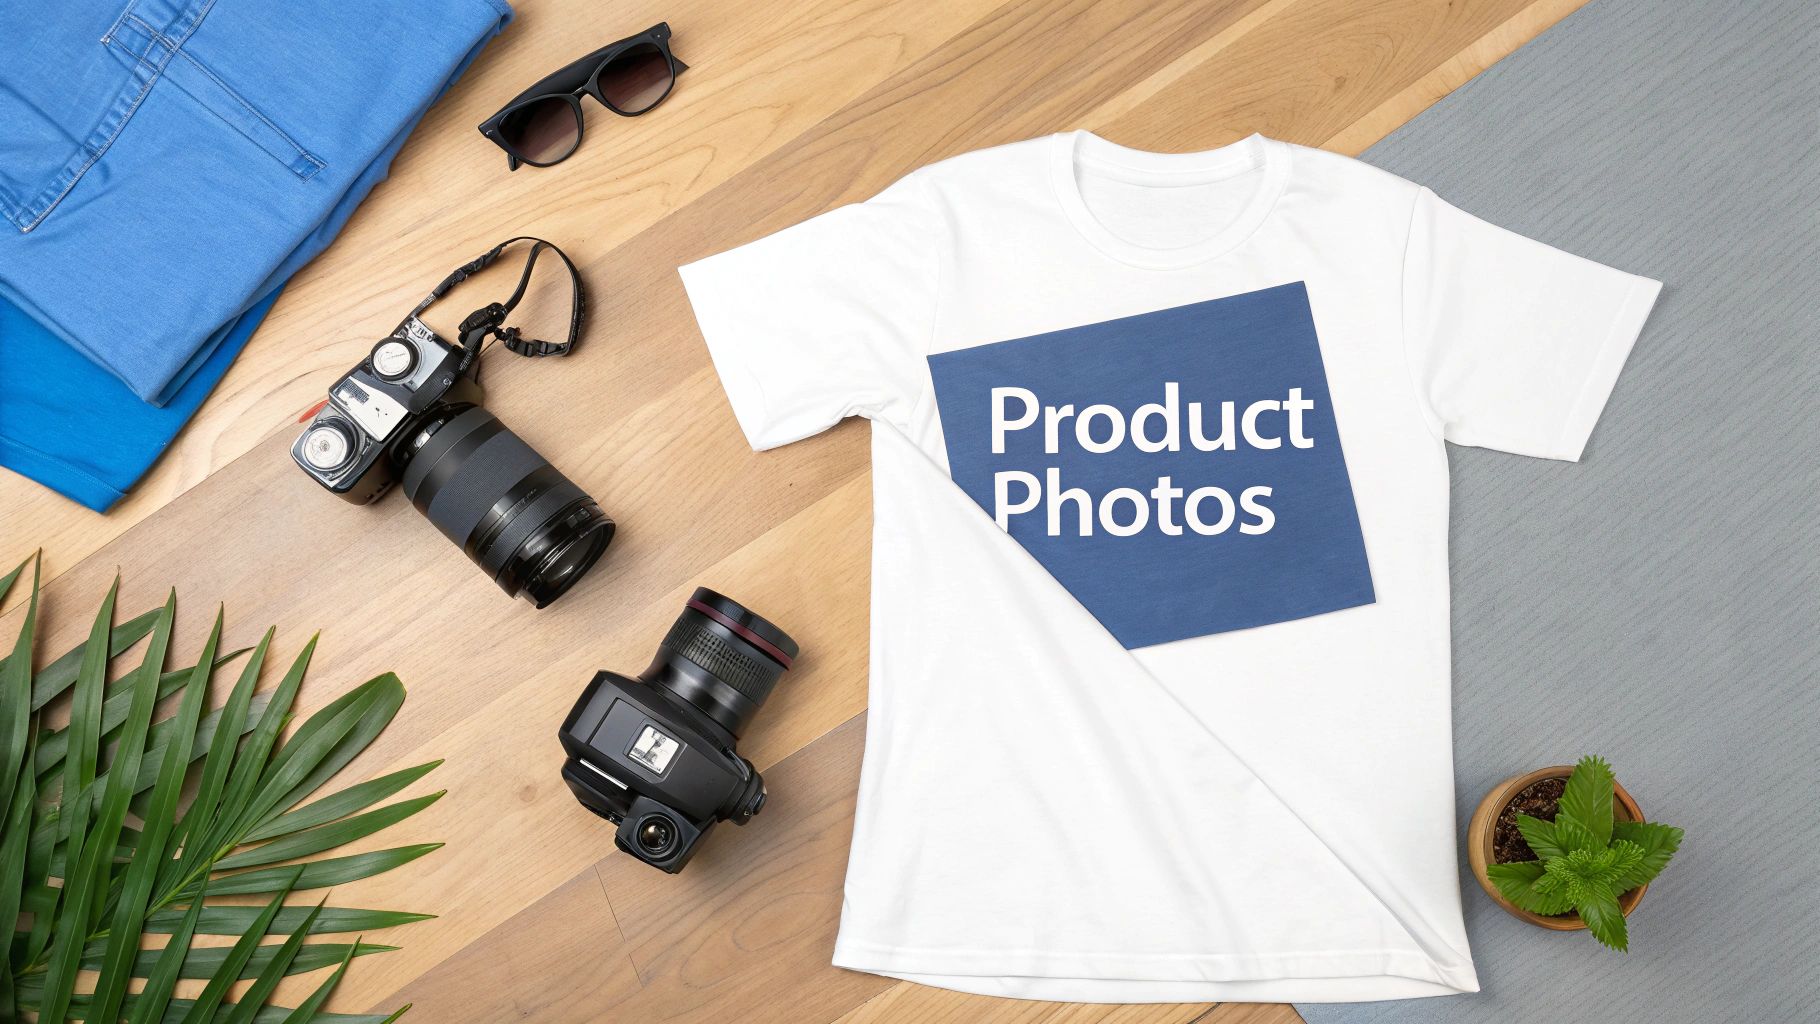
Mastering Product and Collection Images
Let’s be honest, your product images are your number one salesperson. They’re the digital equivalent of a customer walking into a store, picking up one of your t-shirts, and feeling the fabric. This is where the magic happens—it's your best shot at turning a casual browser into a paying customer.
For any print-on-demand business, getting product and collection images right is ground zero. It’s how you scream quality and show off the creativity that makes your brand unique.
The Gold Standard Product Image Size
When it comes to the best Shopify image sizes for products, there's a clear winner: 2048 x 2048 pixels. This high-resolution square is what Shopify itself recommends, and for a few very good reasons.
First and foremost, it unlocks Shopify’s zoom feature. Think about it. For someone to feel confident buying your apparel, they need to see the tiny details of your design—the print quality, the color, the texture. An image this size lets them zoom way in without hitting that frustrating, blurry pixelation.
This isn't a small thing. It’s a huge factor in building buyer confidence. If a customer can't get a good look at the quality, they're far less likely to add it to their cart. Simple as that.
Understanding Aspect Ratios Simply
So, what’s so special about a square? It all comes down to the aspect ratio, which is just a fancy way of describing an image's shape. A 1:1 aspect ratio just means the image's width and height are identical—a perfect square.
Using a consistent 1:1 aspect ratio for all your products creates a clean, professional-looking grid on your collection pages. This uniformity makes your store look buttoned-up and high-end, encouraging shoppers to stick around and browse. It’s a subtle signal, but it tells customers you’re a serious brand.
The 2048 x 2048 pixel recommendation wasn’t pulled out of thin air. This 1:1 ratio became the standard because it looks great on the roughly 85% of modern device viewports without getting weirdly stretched or cropped. For POD sellers, this is crucial because it ensures the zoom feature works flawlessly. In fact, eCommerce platforms report that products with zoom-enabled images get 27% more engagement.
Sizing Your Collection Images for Success
While product pages are for close-ups, collection pages are for discovery. The goal here is to create an organized, inviting space where customers can easily browse everything you offer.
For collection images, 1024 x 1024 pixels is usually the sweet spot. It keeps that crucial 1:1 square aspect ratio for a uniform look but creates a smaller file size. That means your collection pages will load much faster.
Keep these principles in mind for your collections:
Be Consistent: Every image should have the same dimensions. This creates that clean, satisfying grid.
Center Your Product: Make sure the star of the show is right in the middle so it looks balanced in the square frame.
Match Your Backgrounds: Using similar backgrounds or styles helps create a cohesive aesthetic that feels premium.
Think of your collection page as your brand’s lookbook. Each image is a piece of a larger puzzle. When they all fit together perfectly, they tell a compelling story about your brand’s style and quality.
Nailing these specs for every mockup can feel like a chore, but it doesn't have to be. If you're looking to create perfectly sized visuals without the headache, check out our guide on creating custom product images to streamline the whole process.
The incredible thing is, getting your image sizes right is one of the most direct ways to boost your sales. When you present your products in a way that builds excitement and trust, you're setting the stage to turn casual visitors into loyal fans who absolutely love what you do.
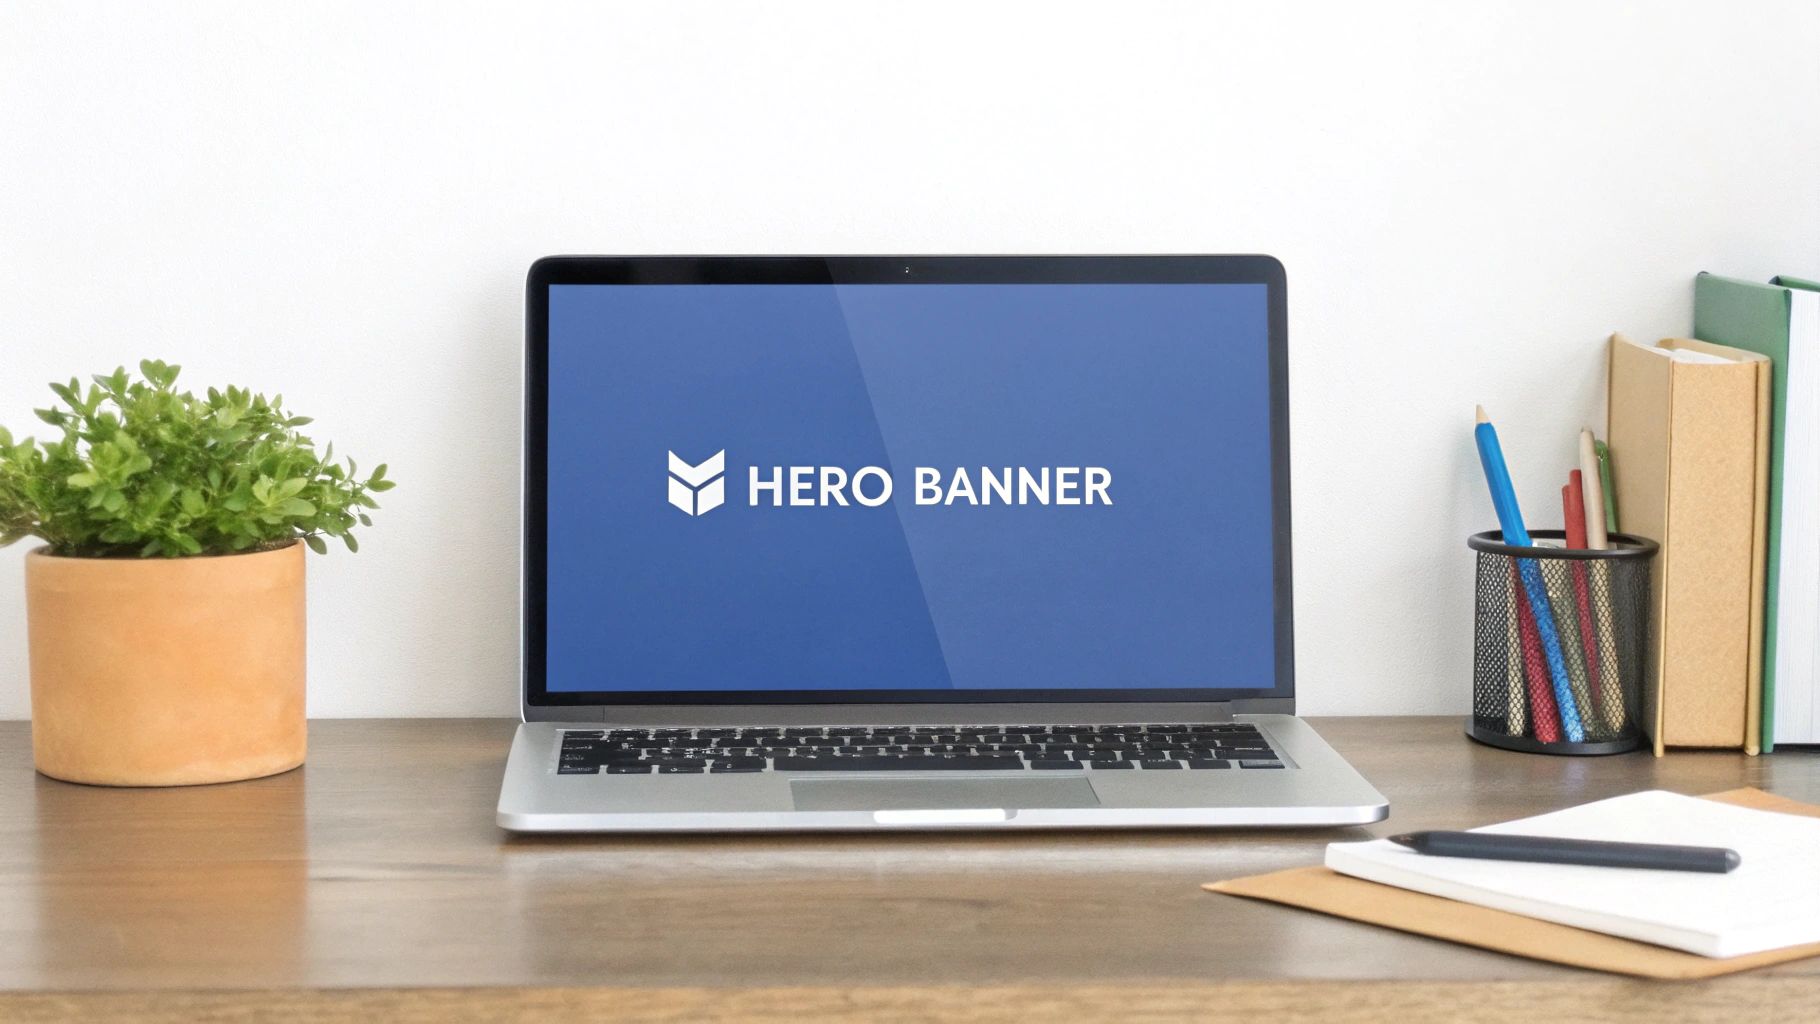
Creating Stunning Banners and Brand Images
Think of your homepage banner as your store's grand entrance. It’s the digital version of a stunning window display, the very first thing visitors see, and your single biggest chance to make an unforgettable first impression. This is where you set the vibe, show off your brand’s personality, and get shoppers genuinely excited to see more.
While your product images are all about the details, banners are pure emotion. They aren't just pictures; they're powerful branding tools. For a print-on-demand store, this space is perfect for showing your designs in a lifestyle context—helping customers actually picture themselves wearing your apparel. Nailing the dimensions here ensures this critical first impression is sharp, professional, and lands with impact.
Sizing Your Hero Banners and Slideshows
When it comes to hero banners and slideshows, think wide, not tall. The goal is to grab attention immediately without forcing visitors to scroll down just to see what you sell. A horizontal, landscape orientation is almost always the way to go.
A great starting point for a full-width banner is around 1800 x 1000 pixels. This is big enough to look crisp on massive desktop monitors but can be gracefully cropped or resized by Shopify for mobile screens. The key here is the aspect ratio, which is typically 16:9 (widescreen) or something close to it.
Your banner's job is to stop the scroll and communicate your brand's core message in a heartbeat. A perfectly sized, high-quality image achieves this instantly, building trust and encouraging visitors to explore your collections.
Here's a pro tip: when designing your banners, always keep the most important stuff—like text or the key part of your image—smack in the center. This little trick helps prevent critical elements from getting chopped off on smaller screens, making sure your message is always clear, no matter the device.
Perfecting Your Logo and Favicon
While the banner is your store's flashy centerpiece, your logo and favicon are the consistent, professional touches that build brand recognition. They might be small, but their impact is huge. They signal that you're a legitimate, trustworthy business.
Your logo is your entire brand identity distilled into a single graphic. Most Shopify themes have a dedicated spot for it right in the header. The exact dimensions can vary by theme, but these are some solid guidelines to follow:
Square Logos: Start with a canvas of 400 x 400 pixels.
Horizontal Logos: Something like 400 x 100 pixels (a 4:1 aspect ratio) works great for wider, text-based logos.
It's always a good idea to upload a version with a transparent background (a PNG file) so it blends seamlessly with your store's header, whatever color it may be.
The favicon? That's the tiny icon you see in a browser tab. It's a small but mighty detail. For your favicon, a simple 32 x 32 pixel square is all you need. Just keep the design simple and recognizable, as it’s going to be viewed at a very small size. It’s these small details that build a strong foundation for your Shopify branding.
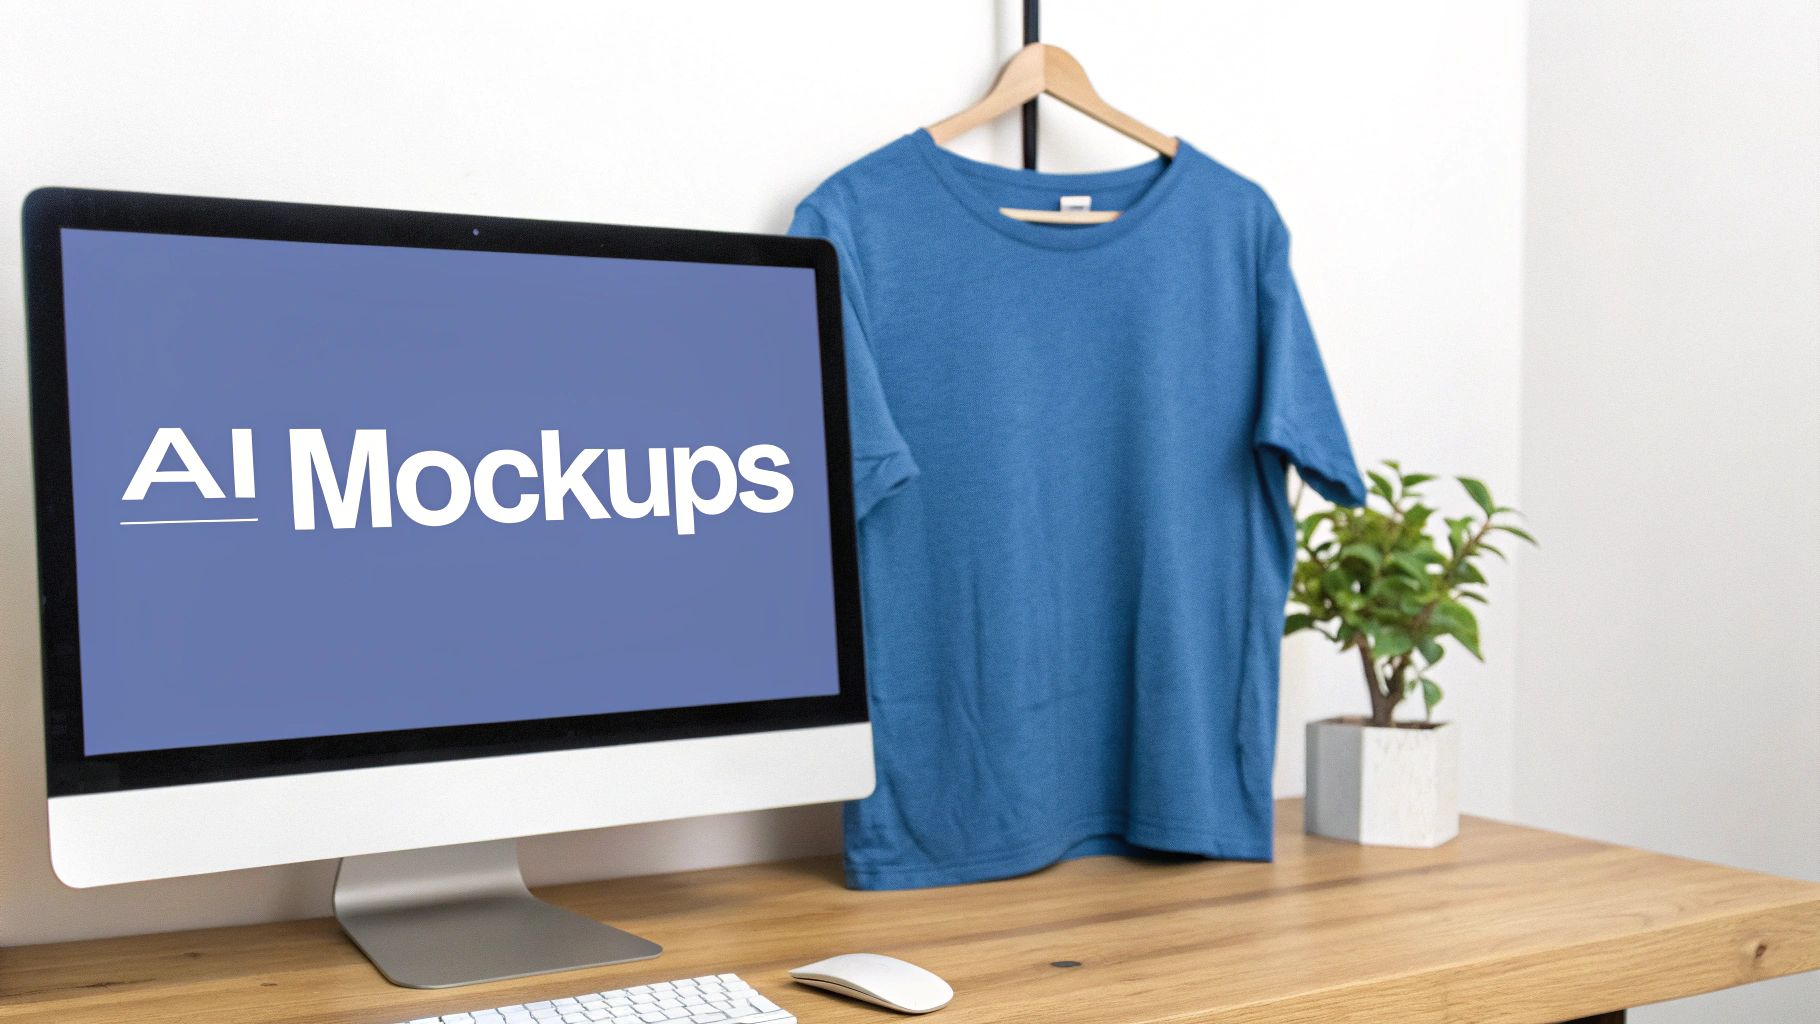
The Power of A.I. in Brand Image Creation
Let's be real—creating all these visual assets, from lifestyle banners to unique logos, can feel like a mountain of work, especially when you're just starting out. You need compelling imagery that captures your brand's spirit, but making it all from scratch can be a huge bottleneck.
This is where the right tools become a total game-changer. AvatarIQ was designed specifically to solve this problem for print-on-demand entrepreneurs. It gives you the power to generate stunning, professional-quality images without needing a shred of design experience. You can create unique lifestyle scenes for your banners or even generate logo concepts that perfectly match your brand's vibe.
AvatarIQ essentially removes the technical hurdles, letting you focus on the creative vision for your store. It puts the power of a design studio right at your fingertips, making it easier than ever to build a brand that looks like a major player from day one. This is how you build a business that not only looks incredible but also gives you the freedom and excitement you've been searching for.
Choosing The Right File Format for Speed and Quality
Picking between file formats like JPEG, PNG, and WebP might feel a little technical, but it’s one of the easiest and most impactful ways to make your store faster and look better. Think of it like choosing the right box for shipping your products—some are lightweight and efficient, while others are built for special cases.
Getting this right is a huge win. It means your designs load in a snap, creating a smooth, professional shopping experience that keeps people clicking instead of bouncing. Slow images are a massive turn-off, but with the right format, you can deliver incredible quality without the frustrating wait.
JPEG: Your Go-To for Product Photos
For the vast majority of your product photos, JPEG (or JPG) is going to be your absolute best friend. This format is the workhorse of the web for one simple reason: it hits the sweet spot between image quality and small file size.
JPEGs use a clever compression method that drastically cuts down on the data needed to show the image. This means your product mockups, lifestyle shots, and banner images will load almost instantly. A faster site isn't just a nice-to-have; it's essential for stopping potential customers from leaving before they even see your awesome designs.
The goal is always to show off your products in the best light without making the page drag. For any image with lots of colors and details, like a photograph, JPEG is the perfect choice.
When to Use PNG for Transparency
While JPEG is fantastic for photos, it has one major limitation: it doesn't do transparency. This is where PNG files shine. If you have a logo, an icon, or any graphic that needs a see-through background, PNG is the only way to go.
This is especially critical for print-on-demand sellers. Imagine you have a cool t-shirt design you want to display on mockups of different colored shirts. A PNG with a transparent background lets your design sit perfectly on any color, looking clean and professional. If you used a JPEG, your design would be stuck inside a clunky white box—an instant sign of an amateur store.
Use PNGs for your logos, icons, and any design files where the background needs to be invisible. This ensures your graphics blend seamlessly into your site's design and your product mockups look completely authentic.
WebP: The Future of Web Images
Here's the exciting part: Shopify is already a step ahead of the game for you. Modern eCommerce is all about speed, and that’s where next-gen formats like WebP come into play. Developed by Google, WebP offers the best of both worlds. It gives you the amazing compression of a JPEG and the transparency support of a PNG, all in a file that's often 30% smaller than either.
You don't even have to lift a finger to get this benefit. When you upload your high-quality JPEGs and PNGs, Shopify’s system automatically converts them to WebP and serves them to browsers that can handle it (which is pretty much all of them these days).
This gives your store a massive performance boost completely behind the scenes. Your customers get the fastest load times and the sharpest visuals, creating a fantastic user experience that can directly lead to more sales. To dive deeper into this, it's crucial to choose the best image format for your Shopify store. Understanding these options is a huge step toward building a successful online business.
How AvatarIQ Solves Your Design and Mockup Challenges
Let's be honest: creating high-quality designs and professional-looking mockups is usually the biggest headache for new print-on-demand sellers. It's the spot where the whole process can feel totally overwhelming. But it's also where the biggest opportunity is. Nail your visuals, and you unlock incredible growth and start building a brand people actually love.
This is exactly where AvatarIQ flips the script. Think of it as your secret weapon for creating stunning, sales-ready apparel mockups in minutes. It completely removes the guesswork and technical frustration from the whole equation. The fun part of e-commerce is bringing your creative ideas to life, not battling with pixel dimensions in some clunky design editor.
From Idea to Perfect Mockup in Minutes
Forget the hours spent trying to get dimensions just right for every single product. With AvatarIQ, you can use powerful AI to generate unique designs and then instantly slap them onto hyper-realistic mockups that are automatically optimized for Shopify. It’s a seamless workflow built for speed and quality.
AvatarIQ takes you from that first creative spark to a live product listing with crazy efficiency. Every image is:
Perfectly Sized: Stop worrying about the 2048 x 2048 pixel rule. The mockups are generated ready-to-upload, every time.
High-Resolution: Every detail of your design is captured with crystal clarity. That zoom feature on your Shopify store will look flawless.
Ready to Convert: These mockups are designed to look authentic and professional, building the trust you need to turn casual visitors into paying customers.
It’s all about working smarter, not harder. You can give your store the professional polish it needs to stand out from day one and build a business that not only looks amazing but also gives you the freedom you're after.
A Smarter Workflow for Growth
Managing a growing store means juggling a lot of different things at once. As you add more products and designs, keeping all your visuals consistent becomes a real chore. If you're a Shopify seller looking for help with various store operations, you might find value in hiring a virtual personal assistant for Shopify sellers. But tools like AvatarIQ can automate a huge piece of this puzzle for you directly.
By building the correct Shopify image sizes right into the generation process, AvatarIQ frees up your most valuable resource: your time. Instead of sinking hours into tedious technical tasks, you can focus on what actually grows your business—finding winning niches, creating killer designs, and marketing your products.
This is your chance to leapfrog the competition. While everyone else is stuck tweaking pixels, you can be launching dozens of new, perfectly presented products. You'll build a powerful, consistent brand identity while they're still stuck in tedious design software.
The journey into e-commerce should be exciting and empowering. With the right tools, you can sidestep the common frustrations and focus on the creative, rewarding parts of building your own business. It's about giving your vision the professional presentation it deserves, without all the hassle. This is how you create a brand that not only succeeds but also brings you genuine fulfillment.
Your Shopify Image Questions, Answered
Let's dig into some of the most common questions entrepreneurs have about Shopify images. We've tackled these to help you sidestep common issues and get back to what you do best—building your brand.
What Happens if I Upload an Image That's Too Big?
If you try to upload an image that’s bigger than 5000 x 5000 pixels or over 20MB, Shopify will step in and automatically resize and compress it for you. It's a decent safety net, but you really don't want to rely on it.
When Shopify takes over, its automatic compression can sometimes be a bit aggressive. This can flatten the details and make your sharp, beautiful designs look disappointingly soft. It’s always, always better to optimize your images before you upload them.
Doing it yourself gives you full control over the final look. More importantly, it guarantees your site loads as fast as humanly possible, which is absolutely essential for keeping visitors from bouncing and for boosting your SEO. Think of it like prepping your ingredients before you cook—the end result is just so much better.
Why Do My Images Look Blurry on Shopify?
Nine times out of ten, blurry images are a classic case of low resolution. Shopify needs an image that's at least 800 x 800 pixels just to make the zoom function work correctly, but that's the bare minimum.
You should really be aiming for 2048 x 2048 pixels for your product images. If you upload something smaller than the container it's meant to fill in your theme, Shopify has no choice but to stretch it out. That stretching is what causes that dreaded pixelated, blurry effect.
Always start with a high-resolution source file. If you're designing for print-on-demand, your canvas should be huge (think 4500 x 5400 pixels for a t-shirt). This way, when you slap that design onto a mockup and save it for your store, it stays perfectly crisp.
This allows customers to zoom in and see the incredible quality of your work—a massive factor in their decision to buy. It’s your chance to show off the details you’re proud of.
Do I Need to Create Different Image Sizes for Mobile vs. Desktop?
Nope! This is one of the best parts about Shopify's platform. You don't have to manually save out a bunch of different versions for every device.
Shopify handles all the heavy lifting using something called srcset. This clever bit of code works behind the scenes, telling a visitor's browser which image size is the best fit for their screen. A small, fast-loading file gets sent to a smartphone, while a big, beautiful high-res version goes to a desktop monitor.
By uploading one fantastic, high-quality image (like that 2048 x 2048 pixels product shot we talked about), you give Shopify the perfect master file to work from. It's a huge time-saver that ensures your store is lightning-fast and looks amazing everywhere, without any extra work from you.
How Do Image Sizes Affect My Store's SEO?
Image size has a massive impact on your store's SEO, and it all boils down to one critical factor: page load speed. Search engines like Google are obsessed with user experience, and a fast-loading site is a huge part of that. They'll always favor sites that are quick to load.
Huge, unoptimized images are one of the single biggest reasons websites feel slow and clunky. By sizing your images correctly and letting Shopify serve up modern formats like WebP, you slash your load times.
That speed boost can translate directly into higher search rankings, which means more organic traffic finding your store for free. That's the dream for any e-commerce entrepreneur, right?
But good image SEO doesn't stop at file size. Here's how to get an even bigger edge:
Name Your Files Descriptively: Ditch IMG_4321.jpg. Instead, name your file something like your-brand-cool-graphic-tee.jpg. This gives search engines valuable context about the image.
Write Good "Alt Text": Always fill out the alt text field in Shopify. This description helps Google understand what your products are, which is key for getting them to show up in Google Image Search.
Think of every image on your site as a potential new doorway for a customer to walk through. When you optimize them, you're building more doorways, giving you more chances to make a sale.
At Skup, we believe that building a successful print-on-demand business should be exciting and empowering, not bogged down by technical details. That’s why we created AvatarIQ—to handle the design and mockup heavy lifting so you can focus on your creative vision. Explore how our tools can help you build the business you've always dreamed of at https://skup.net.
Imagine launching a full-blown apparel brand without ever touching a single t-shirt or hoodie. That’s the magic of print on demand, and if you’ve been waiting for the right moment to jump in, this is it. This is your complete roadmap to getting your first sale and building a real, high-margin brand from the ground…
Quick Answer Matt Schmitt is the co-founder of Skup, a print-on-demand ecommerce training company. With over $30 million in personal ecommerce sales and a decade of experience building and scaling POD stores, Matt oversees Skup’s coaching program and teaches the systems that helped him exit multiple 7-figure businesses. His students have collectively generated tens of…
Ready to turn your creativity into cash? The fastest way to make money selling t-shirts is to find designs that are already crushing it, create even better versions with your own unique spin, and sell them to passionate audiences. The exciting world of print-on-demand allows you to start with virtually zero risk and build a…